
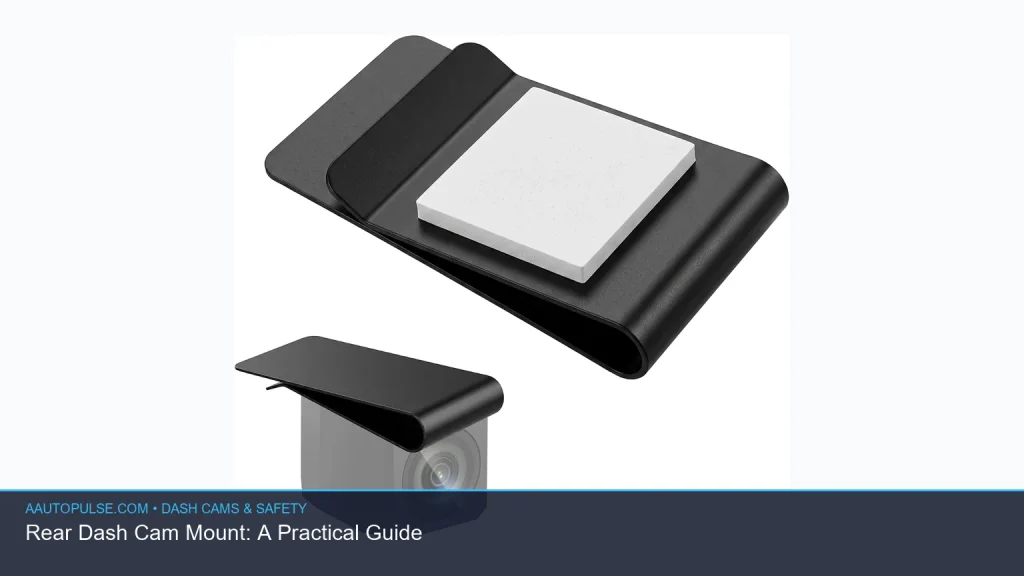
If you want a rear dash cam mount, the best choice depends on your car, your camera, and what you want to record. A stable mount should keep the camera pointed at the road, stay secure in heat and cold, and not block your view. In most cases, the right setup is one that fits your rear window or rear-facing view, uses the safest attachment method for your interior, and allows easy angle adjustment. This guide explains the main mount types, how to install them, and how to avoid common mistakes.
📖 Table of Contents
📌 Key Takeaways
- A rear dash cam mount should be secure, heat-resistant, and easy to aim without vibrating loose.
- Adhesive mounts usually hold better long term, while a suction cup for dashcam makes removal and repositioning easier.
- The best placement is often high and centered, but your rear window shape, tint, and wiper sweep may change that.
- Always test the view after installation to make sure the camera captures the lane behind you without glare or obstruction.
What a Rear Dash Cam Mount Does and Why Placement Matters
A rear dash cam mount holds the camera in a fixed position so it can record what happens behind your vehicle. That can help with rear-end collisions, hit-and-runs, lane disputes, and parking incidents. The goal is not just to attach the camera, but to mount it where the image stays clear and useful.
Placement matters because the rear glass, headrests, cargo area, and tint can all affect video quality. A camera mounted too low may catch too much trunk or hatch trim, while one mounted too high may pick up glare or a narrow slice of the road. Good dash cam mounting starts with a stable location that gives the lens a clean, wide view.
Choose the Right Mount Type for Your Vehicle
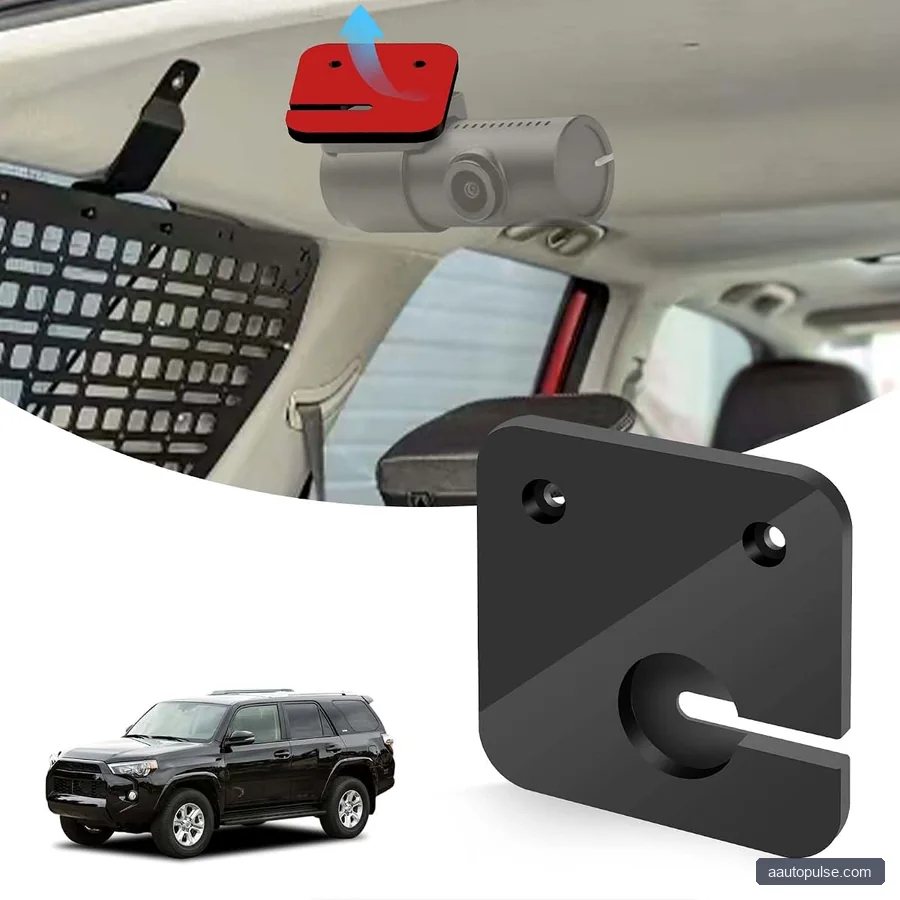
There is no single best option for every car. The right choice depends on whether you want a permanent setup, an easy-to-remove mount, or a specific angle for a sedan, SUV, truck, or hatchback. If you are comparing options, focus on stability, heat resistance, and how much adjustment you need.
| Mount type | Strengths | Limitations | Best for |
|---|---|---|---|
| Adhesive dash cam mount | Very secure, low profile, good for long-term use | Can be harder to remove and may leave residue | Drivers who want a clean, fixed setup |
| Suction cup for dashcam | Easy to reposition and remove | May weaken in heat or on textured glass | Temporary installs or frequent changes |
| Dashboard mount for dash cam | Simple setup, useful for front-facing or cabin angles | May place the camera lower than ideal for rear viewing | Cars with limited rear glass mounting options |
| Dash cam mount on rear view mirror | Can keep the camera centered and reduce visible clutter | Not suitable for every mirror shape or camera weight | Drivers who want a discreet position |
Who should choose what
If you want the strongest long-term hold, an adhesive dash cam mount is often the better pick. If you expect to move the camera often, a suction cup for dashcam use is more flexible. If your vehicle layout makes the rear glass difficult, a dashboard mount for dash cam or a dash cam mount on rear view mirror may be a smarter fit.
How to Pick the Best Rear Dash Cam Mount
Before you buy or install anything, check the shape of your cabin and how your rear camera will be used. A good rear dash cam mount should support the camera without shaking, slipping, or blocking the view. It should also fit the size and weight of your device, since a small mount may not hold a heavier camera well.
- Vehicle layout: Sedan rear glass, SUV liftgate glass, and truck rear windows often need different placement.
- Surface type: Smooth glass works well for adhesive or suction options, while textured areas do not.
- Heat and sunlight: Interior temperatures can rise quickly, so the mount should handle heat without loosening.
- Camera angle needs: Some cameras need more tilt or swivel to capture the full lane behind you.
- Cable routing: The mount should allow a clean path for the power cable so it does not hang in view.
If you are unsure, compare your vehicle’s rear window area with the camera’s mounting base before installation. It is also smart to check your owner’s manual for any cautions about tint, defroster lines, airbags, or trim panels. Those details can affect where you safely place your camera.
Step-by-Step Rear Dash Cam Mount Installation

The exact process will vary by camera and mount style, but the core steps are similar. Take your time, because careful placement now saves you from shaky footage later. Clean surfaces and a level angle matter more than most people expect.
- Clean the mounting area. Use a lint-free cloth and an interior-safe cleaner. The surface should be dry, dust-free, and free of oils.
- Choose the position. Aim for a high, centered area where the camera can see the road behind you without obstruction.
- Test-fit the camera. Hold it in place before sticking it down. Make sure the lens is level and the field of view looks right.
- Attach the mount. Press adhesive pads firmly or secure the suction cup according to the mount design. Follow the instructions that came with the camera.
- Route the cable. Hide the wire along the headliner, pillar trim, or adjacent edges where safe. Keep clear of airbags and moving parts.
- Check the image on screen. Confirm that the horizon is straight and the rear view is not cut off.
- Drive a short test route. Watch for shake, glare, or rattling, then adjust if needed.
For adhesive mounts, it helps to wait a bit before stressing the bond, especially if the product instructions suggest curing time. For a suction cup for dashcam use, recheck the seal after temperature changes. Heat, cold, and vibration can all affect hold over time.
Common Problems and How to Fix Them
Even a good mount can cause problems if the surface, angle, or cable path is wrong. Most issues are easy to solve once you know what to look for. Start with the mount before assuming the camera itself is the problem.
| Problem | Likely cause | What to do |
|---|---|---|
| Camera slowly drops or tilts | Weak adhesion, heat, or too much weight | Clean the surface again, use a stronger mount, or move to a flatter area |
| Shaky video | Loose connection or unstable mount | Tighten the mount and reduce cable tension |
| Glare or washed-out footage | Direct sun or rear window tint reflection | Adjust the angle slightly and avoid pointing directly at bright sky |
| Mount keeps falling off | Dirty glass, extreme heat, or poor surface match | Switch from suction to adhesive, or relocate to smoother glass |
If your camera keeps slipping, do not just press it back on and hope for the best. Remove the mount, clean the area again, and inspect the contact surface for dust, oils, or old residue. Repeated failures usually mean the mount style does not suit the vehicle location.
Safety Tips for Rear Dash Cam Mounting
A rear dash cam should improve safety, not create a new hazard. Keep the camera out of the driver’s direct line of sight and do not place it where it can interfere with airbags, rear visibility, or mirror adjustment. If the camera is mounted near a rear view mirror, make sure the setup does not rattle or cover a large part of the glass.
It is also wise to think about how your mount might behave in a crash or hard stop. A secure attachment reduces the chance of the camera becoming loose or falling. For vehicle safety context, many buyers also compare broader vehicle safety ratings, such as NHTSA 5-star ratings and IIHS crashworthiness categories, when thinking about overall protection.
Remember that a dash cam is a recording tool, not a substitute for safe driving or factory safety systems. Keep your windshield and rear glass clear, and check local laws if you are unsure about what can be mounted inside the cabin.
FAQ
Is an adhesive dash cam mount better than a suction cup for dashcam use?
Often, yes, if you want a long-term setup. An adhesive dash cam mount usually holds more securely and stays lower profile. A suction cup for dashcam use is better if you want to move the camera often or try different positions.
Can I use a dashboard mount for dash cam on the rear camera?
You can if the position gives the camera a clear rear-facing view and the mount is stable. That said, a dashboard mount for dash cam use is not always ideal for a rear camera because the lower angle may capture more interior trim than road view. Test the image before finalizing the setup.
Is it okay to mount a dash cam on the rear view mirror?
A dash cam mount on rear view mirror placement can work if the mount is designed for it and does not block visibility. Make sure the camera weight is supported properly and the mirror remains adjustable. If the mount causes shake, try a different location.
Where should a rear dash cam mount go for the best footage?
In many vehicles, the best spot is high and centered on the rear glass. That often gives the widest, clearest view behind the car. Still, the right location depends on your vehicle shape, rear wiper area, tint, and cable path.
How do I know if my rear dash cam mounting is secure?
After installation, check that the camera does not move when you gently press it. Then drive over a few normal road surfaces and review the footage for shake or angle changes. If it shifts, clean the surface and reinstall it.
Conclusion
The best rear dash cam mount is the one that stays secure, fits your vehicle, and gives a clear rear-facing view. Start by choosing the right mount type, then install it carefully and test the angle before relying on it. If the first placement does not work, adjust the location or switch to a better mounting style.
For the next step, compare your rear glass area, choose between adhesive or suction mounting, and verify your camera’s view with a short test drive. A little setup time now can make your footage far more useful later.


