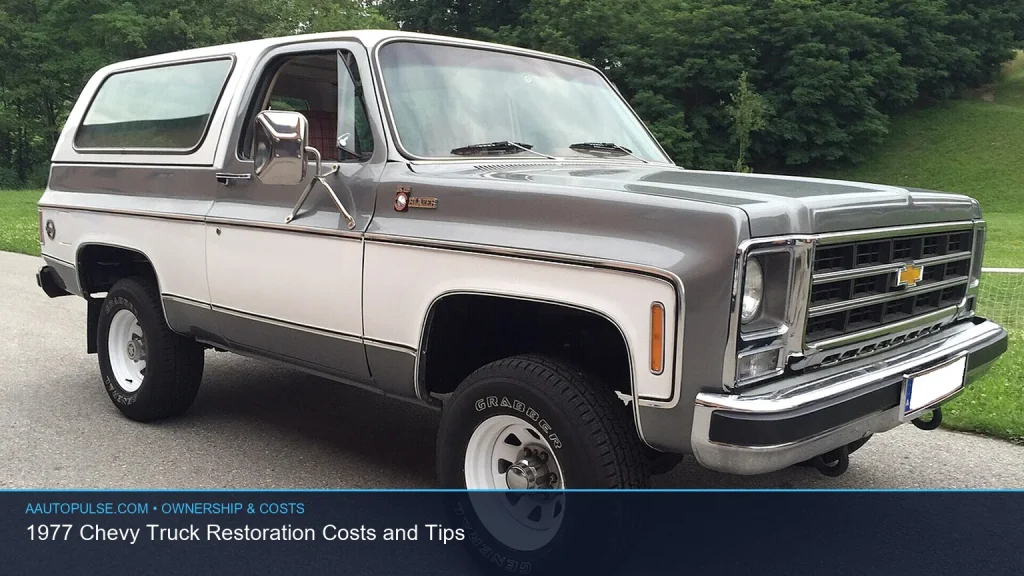
If you are planning a 1977 chevy truck restoration, the best place to start is with a clear budget, a solid inspection, and a realistic plan. Costs can stay modest if the truck is complete and rust-free, but they can climb fast when bodywork, drivetrain repairs, and missing trim add up. This guide breaks down where the money goes, what to inspect first, and how to avoid common mistakes. By the end, you will know whether to do a driver-quality refresh, a partial rebuild, or a full frame-off restoration.
📖 Table of Contents
- Start With the Right Restoration Goal
- 1977 Chevy Truck Restoration Costs: What Drives the Budget
- How to Inspect a 1977 Chevy Truck Before You Buy
- What to Restore First: Safety, Reliability, Then Cosmetics
- Choosing Parts and Labor: DIY, Shop Work, or a Mix
- Common Troubles and How to Avoid Costly Mistakes
- Budgeting Smartly for the Long Haul
- FAQ
- Conclusion
📌 Key Takeaways
- Start with a full inspection before spending money. Rust, missing parts, and drivetrain condition drive most of the budget.
- Decide on a goal early: driver, weekend cruiser, or full restoration. Your target finish changes the cost by a lot.
- Buy the most complete truck you can find. Missing trim, bad wiring, and hacked repairs often cost more to fix than they save up front.
- Keep a reserve fund for surprises. On older trucks, hidden rust and worn mechanical parts are common.
Start With the Right Restoration Goal
The first cost decision in a 1977 Chevy truck restoration is not paint or chrome. It is the end result you want. A clean driver with reliable brakes and a good interior costs far less than a factory-correct, frame-off build.
Most owners fall into one of three groups. One wants a dependable weekend truck. Another wants a sharp showpiece. A third wants to preserve originality and keep the truck close to stock. Each path uses different parts, labor, and time.
Common restoration paths
- Driver-quality refresh: Focuses on safety, reliability, and appearance.
- Partial restoration: Rebuilds major systems while leaving some cosmetic work for later.
- Full restoration: Strips the truck down and rebuilds it from the frame up.
If you are new to classic trucks, a driver-quality build is often the safest choice. It lets you enjoy the truck sooner and spread costs over time. A full restoration makes sense only when the truck is rare, highly desirable, or already very solid.
1977 Chevy Truck Restoration Costs: What Drives the Budget
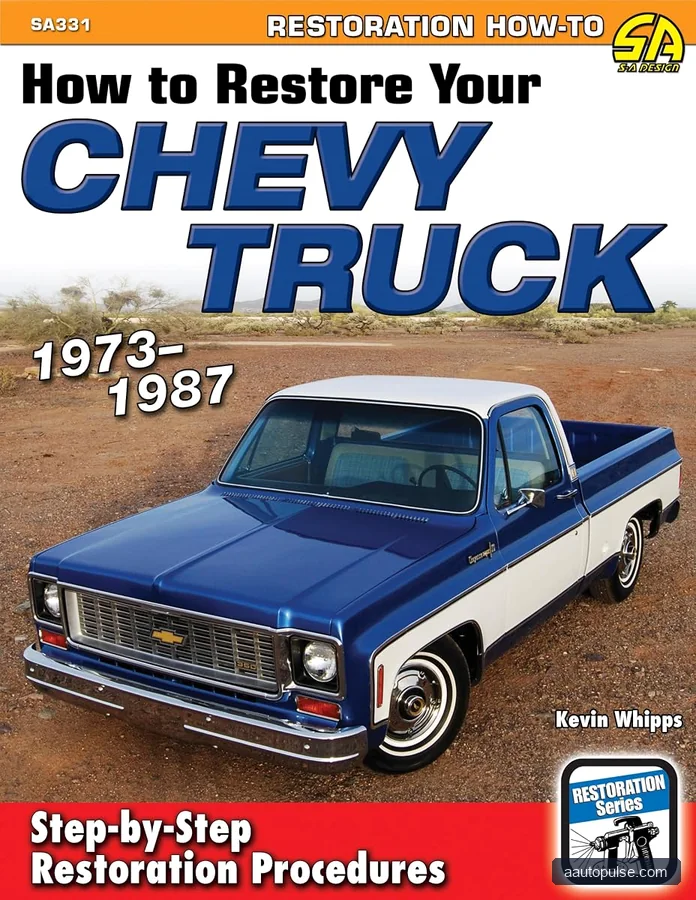
The biggest cost factors are rust, completeness, drivetrain condition, and labor. A truck with a solid cab and bed will usually be much cheaper to restore than one with deep floor, rocker, and cab corner rust. A complete truck also saves money because trim, brackets, and small hardware are hard to replace.
Labor is the other major swing factor. If you can do body removal, disassembly, cleaning, and some mechanical work yourself, you can control costs better. If you hire out paint, welding, engine work, or upholstery, the total can rise quickly.
| Cost Area | What to Inspect | Why It Matters |
|---|---|---|
| Rust repair | Floors, cab corners, rockers, bed supports, frame rails | Body corrosion can become the largest expense |
| Mechanical rebuild | Engine leaks, oil pressure, transmission shifts, axle noise | A worn drivetrain can turn a “good deal” into a money pit |
| Electrical work | Wire condition, charging system, lights, gauges | Old wiring often causes intermittent faults and safety issues |
| Cosmetics | Paint, chrome, glass, weather seals, trim | Finish quality strongly affects the final look and cost |
When comparing trucks, the best value is usually the one that needs the least metal repair, not the one with the lowest asking price. A cheaper truck can become more expensive once rust and missing parts are uncovered.
How to Inspect a 1977 Chevy Truck Before You Buy
Before you commit to a restoration, inspect the truck as if you were trying to find reasons not to buy it. That mindset helps you spot hidden problems early. Walk around the truck, look underneath, and test everything you can.
- Check the frame and cab mounts. Look for rust, cracks, and bad repairs.
- Inspect common rust areas. Focus on cab corners, floor pans, rocker panels, wheel wells, and bed supports.
- Look for signs of collision repair. Uneven gaps, rippled metal, and fresh undercoating can hide damage.
- Test the engine cold. Listen for knocking, smoke, lifter noise, and rough idle.
- Check the transmission and rear axle. Watch for slipping, delayed engagement, or gear whine.
- Review the electrical system. Verify lights, gauges, horn, wipers, and charging output.
- Confirm completeness. Missing trim, emblems, brackets, and interior pieces raise the bill fast.
If possible, bring a flashlight, magnet, and notepad. A magnet can help reveal thick filler under paint. Also check the title status, matching VIN tags, and whether the truck has been modified in ways that may affect parts fitment.
Warning signs that often mean higher costs
- Fresh paint over rough bodywork
- Heavy undercoating in rust-prone areas
- Oil leaks from multiple engine seals
- Hard shifting or transmission hesitation
- Spliced wiring and non-factory connectors
What to Restore First: Safety, Reliability, Then Cosmetics
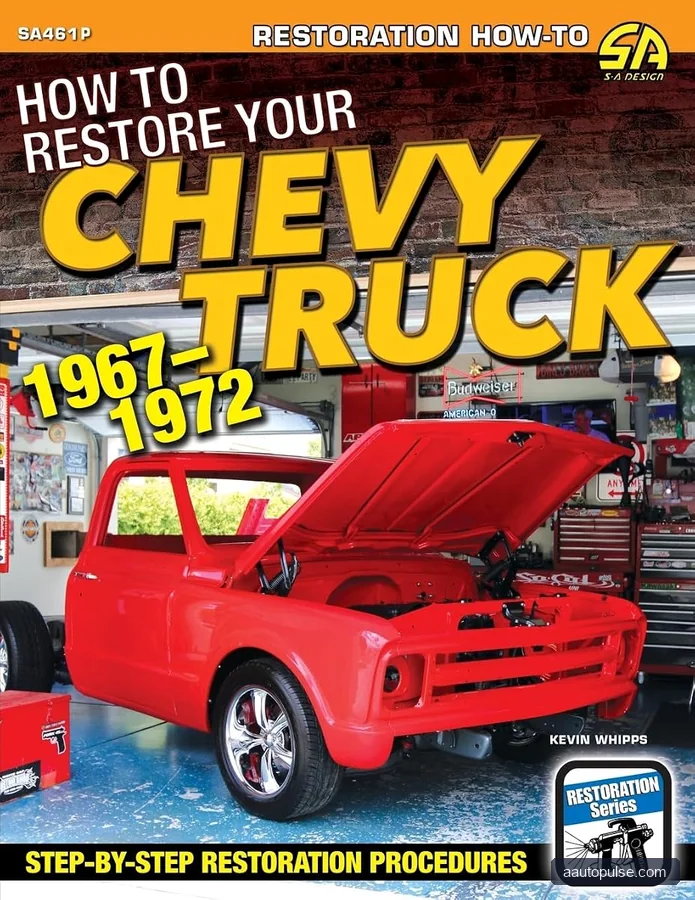
For a classic truck, order matters. Spend first on items that make the truck safe and dependable. That usually means brakes, steering, suspension, tires, cooling, and fuel delivery. After that, move to body, paint, and interior work.
This approach keeps the truck usable while you build it. It also helps you avoid paying for cosmetic parts before you know the drivetrain is sound. Many owners regret painting too early, only to discover leaks or mechanical issues later.
Priority list for most builds
- Safety systems: brakes, steering, tires, lights
- Mechanical reliability: engine, cooling, fuel, transmission, axle
- Rust repair: structural areas first, cosmetic panels second
- Electrical cleanup: charging, ignition, gauge function
- Cab comfort: seats, seals, carpet, dash, trim
- Paint and finish: after all major work is confirmed
For maintenance-related work, always verify fluid capacities and service intervals in the vehicle owner’s manual or service documentation for your specific truck. Older GM trucks can vary by engine, transmission, axle, and previous modifications.
Choosing Parts and Labor: DIY, Shop Work, or a Mix
One of the best ways to control a 1977 chevy truck restoration is to split the work wisely. Some jobs are ideal for a home garage. Others are better left to a shop with the right tools and experience. A mixed approach often gives the best balance of cost and quality.
| Approach | Strengths | Limitations | Best For |
|---|---|---|---|
| DIY-heavy | Lower labor costs, more control, flexible timeline | Needs time, tools, space, and patience | Skilled owners with a home shop |
| Shop-heavy | Professional results, faster turnaround | Higher labor cost, less hands-on control | Owners who want a turnkey result |
| Mixed plan | Balances cost and quality well | Requires planning and coordination | Most first-time restorers |
Who should choose what? If your truck needs welding, body alignment, or major paint correction, a trusted shop may be worth it. If it needs cleaning, bolt-on parts, interior work, or basic mechanical replacement, those are often good DIY tasks. A mixed plan is usually the smartest choice because it saves money without sacrificing safety or quality.
Common Troubles and How to Avoid Costly Mistakes
Many restoration budgets fail because the owner starts buying parts before diagnosing the truck fully. Another common mistake is chasing cosmetics while ignoring safety or rust. A third is assuming every part is “one-size-fits-all,” even though options and prior swaps can change fitment.
Use a simple decision table to stay on track before each major purchase or repair.
| Symptom or Issue | Likely Area | What to Do First |
|---|---|---|
| Truck pulls while braking | Brakes, wheel cylinders, hoses | Inspect brake hardware and lines before driving far |
| Engine overheats | Cooling system | Check radiator, hoses, thermostat, fan, and water pump |
| Charging light stays on | Alternator, wiring, battery | Test battery and charging output, then inspect connections |
| Fuel smell in cab or engine bay | Fuel lines, tank, carb area | Stop driving and inspect for leaks immediately |
Also keep a small inspection log. Write down what you tested, what failed, and what still needs attention. That record helps you avoid duplicate purchases and keeps the project organized.
Budgeting Smartly for the Long Haul
A good restoration budget is not only about total dollars. It is about sequence, flexibility, and patience. Break the project into phases so you can stop after each stage and reassess. That keeps you from overcommitting early.
Set aside a contingency fund for hidden rust, broken fasteners, and previous poor repairs. Older trucks often reveal new issues only after teardown begins. Planning for surprises is one of the best ways to keep the project moving.
Practical budgeting tips
- Buy parts only after confirming fitment.
- Group labor into phases to avoid repeated tear-downs.
- Keep hardware labeled and photographed during disassembly.
- Reuse sound original parts when they are safe and serviceable.
- Verify all service specs in the owner’s manual or a factory service guide.
If you want a reliable truck more than a perfect show build, put money into condition, not just appearance. Straight body panels, safe brakes, and a clean running engine will deliver more value than expensive trim alone.
FAQ
How much does a 1977 Chevy truck restoration usually cost?
The cost depends on condition, rust, labor, and final goals. A basic driver refresh can stay far below a full frame-off build, while a complete restoration with bodywork and professional paint can rise much higher. Since prices vary by region and parts availability, get current estimates before you start.
What is the first thing I should fix on a 1977 Chevy truck?
Start with safety and reliability. Brakes, steering, tires, cooling, fuel delivery, and basic electrical function should come before paint or interior work. That order lets you drive and test the truck safely during the project.
Is it better to restore a truck with rust or buy a cleaner one?
In most cases, a cleaner truck is the better value. Rust repair often takes more time and money than people expect, especially in cab corners, floors, and frame areas. A cleaner body usually shortens the project and lowers risk.
Can I do a 1977 Chevy truck restoration myself?
Yes, if you have time, tools, space, and patience. Many owners handle disassembly, parts cleaning, bolt-on repairs, and some interior work themselves. Welding, paint, and advanced drivetrain work are often better left to professionals unless you already have the skill.
Should I restore the truck to stock or modify it?
That depends on your goal. Stock restorations appeal to owners who value originality and period-correct details. Mild upgrades can improve drivability and safety, but major changes may reduce authenticity and complicate parts selection. Choose the path that matches how you plan to use the truck.
Conclusion
A successful 1977 chevy truck restoration starts with a clear goal, a careful inspection, and a phased budget. Focus first on rust, safety, and mechanical health, then move to cosmetics once the truck is dependable. If you want the best value, choose the most complete and solid truck you can find, and verify specs and service details with the correct manual for your exact vehicle. That approach will save money, reduce stress, and help you finish with a truck you can enjoy for years.