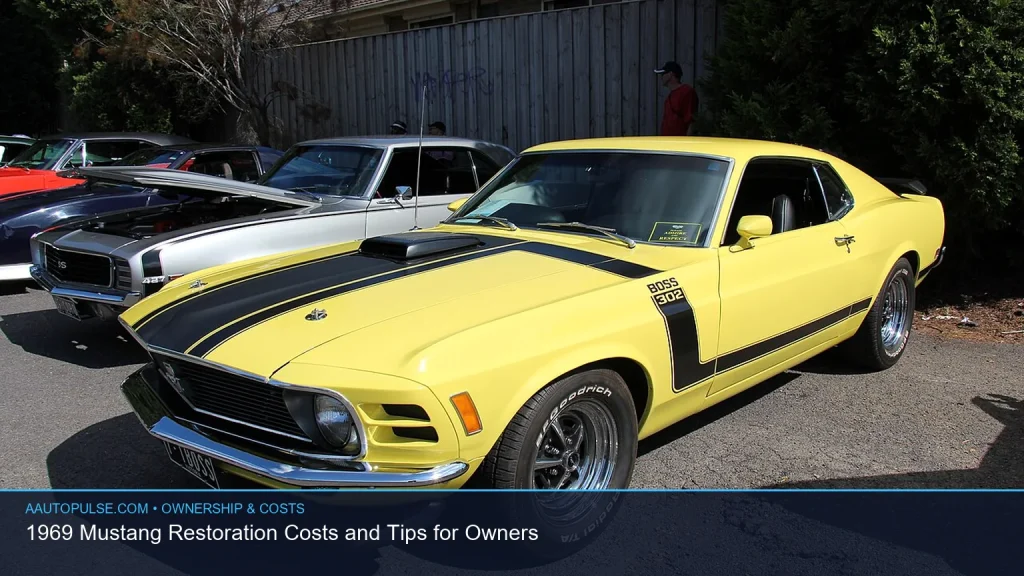
Planning a 1969 Mustang restoration starts with one big question: how far do you want to go, and what can you realistically spend? A driver-quality refresh, a full frame-off build, and a concours-level restore can differ by a huge margin in time, cost, and parts. The smart move is to set a goal, inspect the car honestly, and budget for hidden rust, trim, and mechanical surprises before you buy parts.
📖 Table of Contents
- What a 1969 Mustang Restoration Really Includes
- 1969 Mustang Restoration Costs: Where the Money Goes
- How to Budget a 1969 Mustang Restoration Step by Step
- Best Order of Operations for a 1969 Mustang Restoration
- What to Inspect Before You Spend More
- Choosing the Right Restoration Path: DIY, Shop, or Hybrid
- Practical Tips to Keep Your Mustang Project on Track
- FAQ About 1969 Mustang Restoration
- Conclusion: Restore Smart, Not Fast
📌 Key Takeaways
- A 1969 Mustang restoration can range from basic mechanical revival to a full nut-and-bolt rebuild, so scope matters more than any single price estimate.
- Rust, missing trim, wiring issues, and prior repairs often drive costs higher than engine work alone.
- For the best results, budget in phases: safety first, then drivability, then cosmetics and upgrades.
- Verify all specs, torque values, fluid capacities, and service intervals with the correct owner’s manual or factory service information for your exact Mustang.
What a 1969 Mustang Restoration Really Includes
A 1969 Mustang restoration can mean very different things. For some owners, it is a reliable weekend driver with fresh paint and rebuilt brakes. For others, it means returning the car to factory-correct condition with date-coded parts, exact trim, and original-style finishes.
The more original and complete the car is, the easier the job usually becomes. A complete car with solid sheet metal is far cheaper to restore than a car missing trim, interior pieces, or major structural sections. That is why the condition of the car often matters more than the badge on the fender.
Common restoration levels
- Driver refresh: Focuses on brakes, suspension, engine service, tires, fluids, and cosmetic cleanup.
- Partial restoration: Adds interior work, paint correction, body repairs, and selected mechanical rebuilds.
- Full restoration: Involves deep body repair, drivetrain rebuilds, wiring, trim, and full repaint.
- Concours-level build: Prioritizes factory accuracy and high-end finish work across every system.
If you are not sure where your car fits, start with a full inspection and a written parts list. That one step can prevent the most common mistake: spending heavily on visible upgrades while missing major hidden problems.
1969 Mustang Restoration Costs: Where the Money Goes

Costs vary widely, but the biggest spending categories are usually bodywork, paint, drivetrain, suspension, interior, and trim. On classic cars, labor can exceed parts cost quickly, especially if rust repair or panel replacement is needed. A car that looks “mostly complete” can still hide expensive needs once it is stripped down.
Below is a practical way to think about the cost drivers, not a fixed quote. Labor rates, region, parts quality, and how much work you do yourself can change the total dramatically.
| Restoration Area | What Drives Cost | Typical Risk Factor |
|---|---|---|
| Body and rust repair | Floors, rocker panels, torque boxes, quarter panels, alignment | Very high if rust is structural |
| Paint and prep | Surface prep, jambs, color choice, trim removal, finish quality | High if body is not straight |
| Engine and transmission | Rebuild depth, machine work, originality, swap parts | Medium to high |
| Suspension and brakes | Bushings, steering linkage, brake lines, calipers or drums | Moderate, but safety-critical |
| Interior and trim | Seats, dash, carpet, chrome, glass, emblems, weatherstrips | Moderate to high due to missing pieces |
The best budget plan is to separate the build into must-have and nice-to-have work. Must-have means safety, rust repair, and drivetrain health. Nice-to-have means show-quality details, rare trim, or performance upgrades that can wait.
How to Budget a 1969 Mustang Restoration Step by Step
A realistic budget starts with an inspection, not with a shopping cart. Before buying parts, make a list of what is present, what is damaged, and what is missing. Then rank each issue by safety, drivability, and cosmetics.
- Inspect the car thoroughly. Check floors, trunk pan, cowl area, frame rails, torque boxes, door gaps, and suspension pickup points.
- Decide the final goal. Choose driver, partial, or full restoration before spending on parts.
- Create a system-by-system list. Break the car into body, engine, transmission, cooling, brakes, steering, electrical, interior, and exterior trim.
- Get estimates for labor-heavy work. Body and paint often cost far more than expected, especially if rust is deep.
- Add a contingency fund. Classic car projects almost always reveal extra work after disassembly.
- Buy in the right order. Start with rust repair and mechanical safety before buying cosmetic pieces.
A simple rule helps here: never lock in expensive paint or interior work until the car is structurally sound and mechanically sorted. If you skip that step, you may pay twice for parts and labor when hidden issues appear later.
Where DIY helps most
Owners who can do disassembly, sanding, cleaning, labeling, and basic bolt-on work often save the most money. Small jobs like weatherstripping, interior reassembly, and bolt-on suspension parts are also common DIY wins.
That said, tasks like rust repair, panel alignment, engine machining, and electrical troubleshooting are easy to underestimate. If you are not skilled in those areas, paying a specialist can be the cheaper choice in the long run.
Best Order of Operations for a 1969 Mustang Restoration
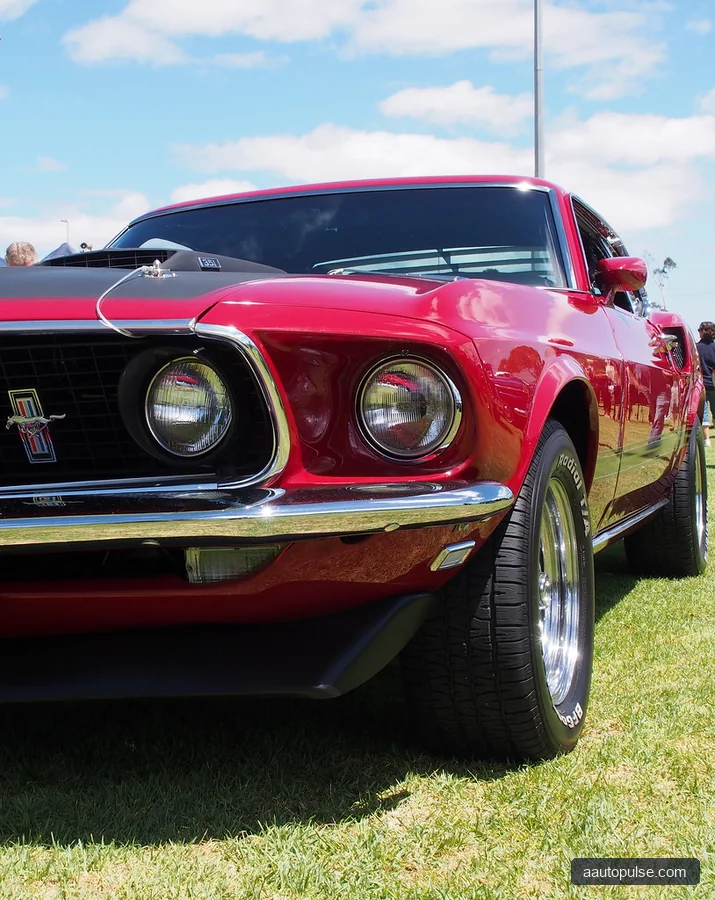
If your goal is a dependable classic, follow a practical sequence. This keeps you from polishing a car that still has unsafe brakes or structural rust. It also helps you spend in the right order, which protects your budget.
- Document everything. Take photos, label parts, and store hardware by system.
- Confirm the chassis is solid. Repair rust in floors, rails, and support areas before cosmetic work.
- Refresh braking and steering. Replace worn hoses, lines, bushings, wheel cylinders, calipers, and steering wear items as needed.
- Service the engine and cooling system. Check belts, hoses, ignition, fuel delivery, radiator condition, and leaks.
- Sort the transmission and rear axle. Inspect for leaks, noise, and fluid condition.
- Address wiring and lighting. Repair brittle insulation, bad grounds, and weak connectors.
- Finish with paint, trim, and interior. These are best handled once the car is complete and stable.
For maintenance details such as oil type, oil capacity, and service intervals, always verify the exact engine and transmission setup in the owner’s manual or factory service literature. A 1969 Mustang may have different requirements depending on its engine, axle, and transmission combination.
What to Inspect Before You Spend More
The smartest restoration owners catch problems early. A quick visual check is not enough on a car this old. You need to look for symptoms that point to hidden mechanical or structural trouble.
| Symptom | Likely Area to Check | Why It Matters |
|---|---|---|
| Uneven panel gaps | Body structure, prior collision repair | May signal frame or unibody damage |
| Soft brake pedal | Hydraulics, hoses, master cylinder, air in lines | Safety-critical and should be fixed first |
| Engine smoke or knocking | Compression, oil pressure, timing, fuel mixture | May indicate internal wear |
| Overheating at idle | Cooling fan, radiator, thermostat, timing, belts | Common on older classics and often fixable |
| Electrical gremlins | Grounds, wiring harness, switches, alternator output | Can affect starting, lighting, and gauges |
If you are buying a project car, this checklist can save you from a bad purchase. A shiny repaint can hide major rust, and a running engine can still need a full rebuild. Always look beyond the first impression.
Choosing the Right Restoration Path: DIY, Shop, or Hybrid
There is no single best path for every owner. The right approach depends on your time, tools, skill level, and end goal. Many 1969 Mustang projects work best as a hybrid build, where the owner handles some tasks and a specialist handles the rest.
| Option | Strengths | Limitations | Best For |
|---|---|---|---|
| DIY | Lower labor cost, full control, flexible pace | Slow, tool-heavy, mistakes can add cost | Experienced hobbyists with space and patience |
| Professional shop | Better finish quality, less risk, faster turnaround | Higher cost, less hands-on control | Owners aiming for high-quality body, paint, or full restoration |
| Hybrid | Balances savings and expertise | Requires planning and coordination | Most owners who want value and quality |
Who should choose what: If you want the lowest cost and enjoy hands-on work, DIY can make sense for bolt-on tasks. If the car needs major rust repair or show-quality paint, a shop is often the safer bet. If you want to control spending without sacrificing quality, the hybrid approach is usually the most practical.
Practical Tips to Keep Your Mustang Project on Track
Classic car projects tend to drift when the work is not organized. Small habits can save real money and time. They also make reassembly much easier months later.
- Photograph every part before removal. Pictures help during reassembly and part ordering.
- Bag and label hardware by location. Use clear labels for doors, dash, engine bay, and trim.
- Buy quality once when it matters. Brakes, hoses, bearings, and steering parts should not be the cheapest option available.
- Keep a running spreadsheet. Track parts, labor, and missing items so the budget stays visible.
- Pause before cosmetic spending. Make sure mechanical and structural work is done first.
Also remember that a “restored” car is only as good as its documentation. Save receipts, part numbers, and photos. If you later sell the car, that record can support value and help explain the work that was done.
FAQ About 1969 Mustang Restoration
How do I know if my 1969 Mustang is worth restoring?
Start with the body shell, completeness, and structural rust. A car with a solid shell and original parts is usually a better restoration candidate than a cheaper car with heavy rust or missing trim. The final decision should also reflect your budget and how original you want the car to be.
What should I fix first in a restoration?
Fix safety and structure first. That means rust in load-bearing areas, brakes, steering, tires, and any fuel or wiring issue that could create a hazard. Cosmetics should wait until the car is safe and mechanically sound.
Can I restore a 1969 Mustang in my garage?
Yes, if you are realistic about scope. Basic mechanical work, interior replacement, and some suspension jobs can often be done at home. Heavy rust repair, paint, and engine machining usually require more tools, skill, or outside help.
How long does a 1969 Mustang restoration take?
It depends on scope, parts availability, and labor. A simple refresh may move quickly, while a full restoration can take a long time because each system affects the next. The safest approach is to plan the project in stages rather than by calendar date alone.
Should I modify the car while restoring it?
That depends on your goal. If you want originality, keep changes minimal and reversible. If you want better drivability, common upgrades may include improved brakes, cooling, and suspension, but verify fitment and compatibility before buying parts.
Conclusion: Restore Smart, Not Fast
A successful 1969 Mustang restoration comes down to scope, planning, and discipline. Start with a clear goal, inspect the car carefully, and spend money in the right order: safety, structure, drivability, then cosmetics. That approach keeps surprises smaller and results stronger.
If you are ready to begin, write your build plan today, inspect the car system by system, and verify all mechanical details with the correct manual for your exact Mustang. That is the best way to turn a dream project into a finished car you can enjoy.