If you are planning a classic lorry restoration, the best results come from patience, careful inspection, and a clear plan. Old work trucks and lorries can be deeply rewarding to bring back, but they also hide rust, worn brakes, tired wiring, and hard-to-find parts. This guide explains how US enthusiasts can restore one step at a time, what to inspect first, and where the biggest mistakes happen. Whether you want a showpiece, a weekend hauler, or a faithful survivor, the right approach will save money and frustration.
📖 Table of Contents
- What Makes Classic Lorry Restoration Different
- How to Inspect a Classic Lorry Before Restoration
- Classic Lorry Restoration Priorities That Save Time and Money
- Step-by-Step Plan for a Successful Build
- Common Problems to Watch For During Restoration
- Choosing the Right Restoration Path
- Practical Maintenance Guidelines During the Build
- FAQ: Classic Lorry Restoration
- Conclusion: Start with Safety, Then Build Forward
📌 Key Takeaways
- Start with a full inspection of the frame, cab, brakes, and drivetrain before buying parts or stripping the vehicle.
- Set a clear goal early: driver-quality, show-quality, or faithful factory-style restoration.
- Rust repair, wiring, and brake systems are the most common time and cost traps in classic lorry restoration.
- Use the owner’s manual, factory service data, and trusted parts catalogs when available, and verify all specs before ordering.
What Makes Classic Lorry Restoration Different
Classic lorry restoration is not the same as restoring a passenger car. Lorries often used heavier frames, commercial-grade hardware, and simpler interiors, but they also worked harder and saw more abuse. Many spent years hauling loads, sitting outdoors, or being patched up just enough to keep going.
That history changes the restoration plan. A shiny cab means little if the frame is bent, the brakes are weak, or the cooling system cannot handle normal use. The goal is to make the truck safe, reliable, and true to its character.
Know your end goal before you start
Some owners want a period-correct build that looks original from ten feet away. Others want a usable driver with better lighting, modern tires, and safer braking. Both paths are valid, but mixing them without a plan often leads to wasted money and repeated work.
Write down your target before teardown. Decide whether you want originality, usability, or a blend of both.
How to Inspect a Classic Lorry Before Restoration

The first step in any classic lorry restoration is a careful inspection. Do not start with paint or chrome. Start with structure, safety, and the major systems that determine whether the lorry is worth saving.
Bring a flashlight, magnet, floor jack, jack stands, and a notepad. If the vehicle is very old, expect rust in hidden spots even if the outside looks decent.
1. Check the frame and underbody
Look for rust around spring mounts, cab supports, crossmembers, and boxed frame sections. Tap questionable areas lightly and watch for soft spots or flaking metal. Uneven gaps or fresh welds can signal old accident damage or hidden repairs.
2. Inspect brakes and steering
Many old lorries use drum brakes, mechanical linkages, or aging hydraulic systems. Check brake lines, wheel cylinders, hoses, and pedal feel. Steering play, leaking gearboxes, and worn kingpins can make the truck unsafe even at low speed.
3. Evaluate the engine and transmission
Look for oil leaks, low compression symptoms, smoke, and rough idle. Check coolant condition and signs of overheating. If the lorry has been sitting for years, assume fuel lines, seals, belts, and hoses need close review even if the engine turns over.
4. Review the electrical system
Old wiring insulation can crack with age. Faded connectors, poor grounds, and makeshift repairs often cause hard-to-find faults. Confirm whether the truck is 6-volt or 12-volt, then inspect the battery tray, charging system, lights, and dash circuits.
Classic Lorry Restoration Priorities That Save Time and Money
Restoration works best when you fix the foundation first. That means structure, stopping power, steering, and basic engine health before trim and cosmetics. This order keeps the project safer and helps avoid removing newly finished parts later.
If you need a simple rule, restore from the ground up. It is easier to install upholstery after the truck moves and stops correctly.
| Priority Area | Why It Comes First | Common Risk If Delayed |
|---|---|---|
| Frame and rust repair | Determines safety and structural strength | Cosmetic work gets ruined by hidden corrosion |
| Brakes and steering | Needed before road testing | Unsafe test drives and added liability |
| Cooling and fuel systems | Prevents overheating and fuel leaks | Engine damage and fire risk |
| Wiring and charging | Supports reliable starts and lighting | No-start issues and electrical faults |
| Interior and trim | Best saved for last | New work gets damaged during mechanical repairs |
Step-by-Step Plan for a Successful Build
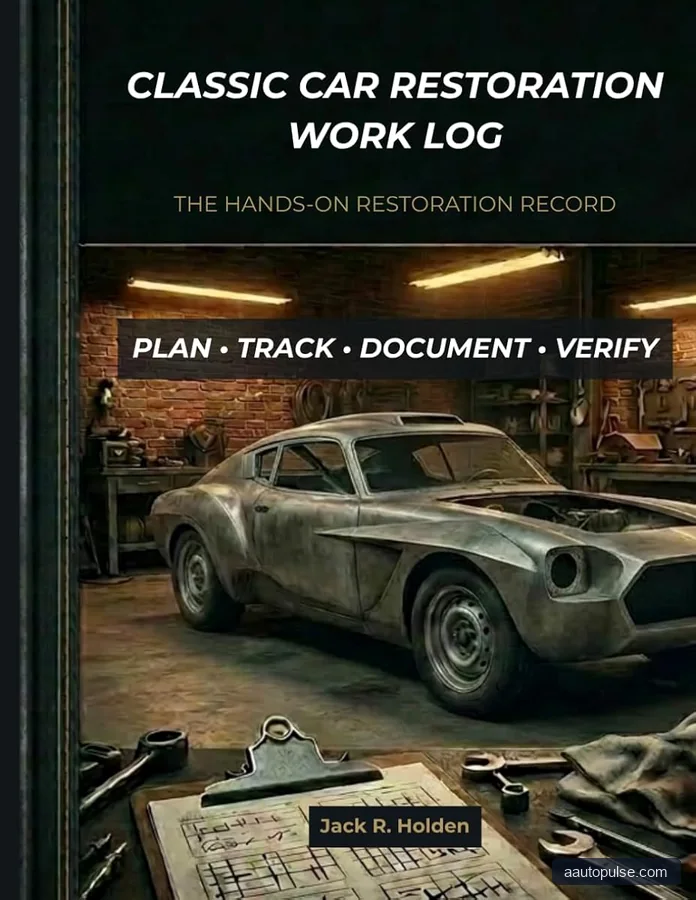
A methodical process keeps a classic lorry restoration organized. The exact order can change based on the truck’s condition, but the steps below work well for most projects.
- Document everything. Take photos before disassembly, label parts, and bag fasteners by area.
- Confirm the truck identity. Record the VIN, engine code, axle tags, and any body tags before parts get removed.
- Make a parts map. Separate parts into keep, repair, replace, and unknown piles.
- Strip only what is needed. Remove panels and assemblies in stages so you can reference fit and routing.
- Repair the structure. Address rust, cracked mounts, and bent brackets before cosmetic work.
- Rebuild safety systems. Refresh brakes, steering, tires, suspension wear items, and all fluid lines.
- Refresh the powertrain. Inspect seals, fluids, ignition parts, belts, hoses, and cooling components.
- Test electrical function. Verify lights, gauges, charging, horn, and switches before final assembly.
- Finish trim and paint last. Install interior, exterior trim, and body finish after the truck is mechanically sound.
Keep a notebook with torque values, part numbers, and source notes. For older vehicles, service data may be incomplete, so always verify details against factory literature or a trusted manual when available.
Common Problems to Watch For During Restoration
Many lorry projects fail because small issues are ignored too long. A cracked brake hose, weak ground, or soft cab mount can become a major setback if you discover it after the truck is painted.
Use a symptom-based approach. If something feels off, investigate before moving forward.
| Symptom | Possible Cause | What to Check First |
|---|---|---|
| Soft brake pedal | Air in system, leaking lines, worn cylinders | Fluid level, visible leaks, bleeding procedure |
| Engine runs hot | Clogged radiator, bad thermostat, weak water pump | Coolant flow, hoses, fan operation |
| Dim headlights | Poor grounds, weak charging, old wiring | Battery voltage, grounds, switch contacts |
| Oil leaks after startup | Dry seals, clogged breathers, overfilled crankcase | Valve cover area, rear main region, drain plugs |
| Steering wander | Loose linkage, worn bushings, bad alignment | Tie rods, kingpins, steering box adjustment |
Choosing the Right Restoration Path
Not every classic lorry should be restored the same way. Some are best preserved, while others deserve full tear-down work. The right path depends on rarity, rust level, parts access, and how you plan to use the truck.
Below is a simple comparison to help guide the choice.
| Restoration Path | Best For | Strengths | Limitations |
|---|---|---|---|
| Preservation | Solid originals with minor wear | Keeps original character and more of the factory finish | May not solve hidden mechanical issues |
| Driver restoration | Owners who want regular use | Balances reliability, safety, and appearance | May reduce strict originality |
| Full concours-style rebuild | Rare or highly prized examples | Highest visual detail and finish quality | Time-heavy and parts-intensive |
Who should choose what? If the lorry is relatively complete and structurally sound, preservation or a driver build often makes the most sense. If the frame is damaged, rust is extensive, or the truck has special historical value, a deeper restoration may be justified. If your goal is weekend use in the US, a reliable driver build usually offers the best balance.
Practical Maintenance Guidelines During the Build
Even while the truck is apart, basic maintenance still matters. Many older lorries benefit from fresh fluids, clean filters, and careful adjustment once the system is reassembled. Typical service intervals will vary by make, engine, and use, so verify your owner’s manual or factory service guide when possible.
As a general starting point, inspect engine oil, coolant, brake fluid, and transmission fluid before first startup. After the truck is running, recheck fluid levels and look for leaks after the first short drive, then again after a few heat cycles.
Useful rule-of-thumb checks
- Change break-in or fresh-rebuild oil early if the engine has been rebuilt or sat with contaminated oil.
- Check hose clamps, fuel lines, and brake fittings after the first drive and again after several days.
- Look for wheel bearing heat, unusual tire wear, and pulling under braking during early road tests.
- Verify charging voltage, light function, and gauge readings before longer trips.
If the vehicle uses an uncommon engine or drivetrain, parts availability should shape your maintenance plan. Some owners choose more common service components where allowed, but any such change should be made carefully and with safety in mind.
FAQ: Classic Lorry Restoration
How long does a classic lorry restoration usually take?
It depends on rust, parts access, and your goal. A light driver-focused restoration may move faster than a full frame-off rebuild, but older commercial vehicles often reveal hidden issues once disassembly starts. Plan for the unexpected and build in extra time.
What should I fix first on a classic lorry?
Fix the structure, brakes, steering, tires, and cooling system first. Those are the systems that affect safety and whether the truck can be moved, tested, or inspected. Cosmetics should come later.
Should I keep the truck original or upgrade it?
That depends on how you want to use it. If originality matters most, keep changes minimal and reversible when possible. If you plan to drive it often, sensible upgrades to lighting, braking, or charging can make the truck easier to live with.
How do I know if a lorry project is too far gone?
Severe frame rust, missing major components, or extensive accident damage can make a project uneconomical. If the structure is weak and hard-to-source parts are missing, compare repair effort to the truck’s value and your goals before committing.
Do I need special tools for restoration?
Yes, but not always exotic ones. Common needs include quality jack stands, a torque wrench, pullers, brake tools, a multimeter, and rust repair tools. The exact list depends on the truck’s age and design.
Conclusion: Start with Safety, Then Build Forward
Successful classic lorry restoration is about discipline, not speed. Inspect the truck carefully, plan the build around safety, and tackle one system at a time. That approach reduces surprises and helps you end up with a lorry that looks right and drives well.
If you are ready to begin, start with a full inspection, gather factory information where available, and define your restoration goal before turning a single wrench. For any service details, always verify against the correct manual or parts reference for your exact vehicle.