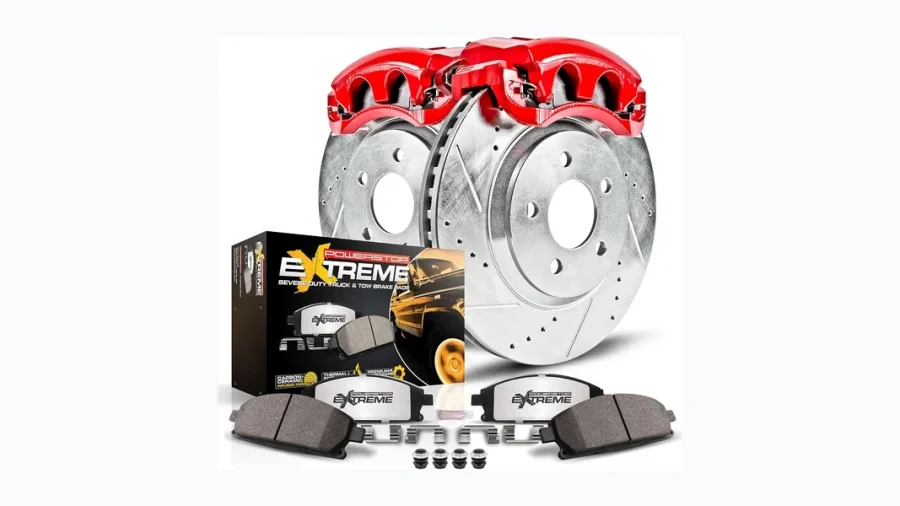
If your brakes are noisy, the pedal feels soft, or stopping distance has increased, it may be time to replace worn brake parts. This guide explains how to replace brake pads rotors and calipers safely, what tools and checks you need, and when to stop and call a pro. You will learn the basic process, common mistakes, and how to confirm the repair is done right. Because brake work affects safety, take your time and replace parts only if you can do the job cleanly and confidently.
📖 Table of Contents
📌 Key Takeaways
- Brake pad, rotor, and caliper replacement is a safety job. Work carefully, and do not skip final checks.
- Replace parts in pairs on the same axle so braking stays balanced side to side.
- Use the correct tools, torque settings, and brake fluid type for your vehicle.
- If you find seized bolts, a leaking caliper, or a soft pedal after bleeding, stop and inspect before driving.
What this brake repair involves
Brake pads create friction, rotors give the pads a smooth surface to grip, and calipers clamp the pads against the rotors. When one of these parts wears out or fails, braking can become noisy, uneven, or weak. Many repairs involve replacing pads and rotors together, and calipers may be replaced when they leak, stick, or fail to release properly.
Before starting, confirm the problem by checking pad thickness, rotor condition, and caliper movement. If you only replace the easiest part while ignoring the worn one, the new parts may wear fast or brake poorly. For the best result, inspect both sides of the axle and replace matched parts where needed.
Tools, parts, and safety prep

Good preparation makes this job safer and smoother. You will need a jack, jack stands, wheel chocks, lug wrench, ratchet, sockets, a torque wrench, brake cleaner, a C-clamp or caliper tool, and a drain pan or catch rag if brake fluid may spill. A brake bleeder kit or clear hose may also help if you open the hydraulic system.
Use the correct replacement parts for your exact year, make, model, and trim. Brake hardware can vary, and some vehicles need new clips, slide pins, or pad shims as part of the repair. If you are unsure about fitment or procedure, verify it with a trusted service manual or manufacturer information before turning a wrench.
Safety first
Park on level ground, set the parking brake if appropriate for the axle you are not servicing, and chock the wheels that stay on the ground. Wear eye protection and gloves. Never rely on a jack alone; support the vehicle securely with jack stands before working under or around it.
Do not inhale brake dust or use compressed air to blow it off. Use brake cleaner and a lint-free rag instead. If the brake fluid cap is removed, keep dirt out of the reservoir at all times.
How to replace brake pads rotors and calipers safely
The exact steps can vary by vehicle, but the core process is similar. If your car has electronic parking brakes, integrated rear calipers, or special service mode steps, check the manual before starting. When in doubt, pause and verify the procedure rather than forcing a part.
- Loosen the lug nuts slightly. Crack them loose before lifting the vehicle, but do not remove them yet.
- Raise and support the vehicle. Lift it at the proper jacking point and secure it on jack stands.
- Remove the wheel. Set the lug nuts aside where they will stay clean.
- Inspect the brake assembly. Look for uneven pad wear, rotor grooves, heat spots, torn boots, and fluid leaks.
- Remove the caliper. Unbolt the caliper and support it with a hook or wire. Do not let it hang from the brake hose.
- Remove the pads and hardware. Take out the old pads, clips, and shims if they are being replaced.
- Remove the rotor. Some rotors slide off. Others may need retaining screws removed or light tapping to free them.
- Inspect and service the caliper bracket and slide pins. Clean rust and old grease. Check that slide pins move smoothly.
- Install the new rotor. Clean off protective oil with brake cleaner before installation.
- Install new pad hardware and pads. Use the correct clips, shims, and lubricant only where the manual allows it.
- Replace the caliper if needed. If the old caliper is leaking, seized, or damaged, install the new one and connect it carefully.
- Compress the piston as required. If the new pads are thicker, push the piston back slowly and evenly.
- Bleed the brakes if the hydraulic system was opened. Remove air from the line and top off the fluid with the correct type.
- Reinstall the wheel and torque the lug nuts. Tighten in a star pattern to the correct specification.
- Repeat on the matching wheel on the same axle. Brake parts should be replaced in pairs for even braking.
When a caliper must be replaced
Not every brake job needs a new caliper. Replace it if the piston is stuck, the slides do not move after cleaning and lubrication, the boot is torn, or brake fluid is leaking from the housing. A failing caliper can drag the brake, overheat the rotor, and create unsafe pull or fade.
Comparison: pad-only, pads plus rotors, or pads rotors and calipers?
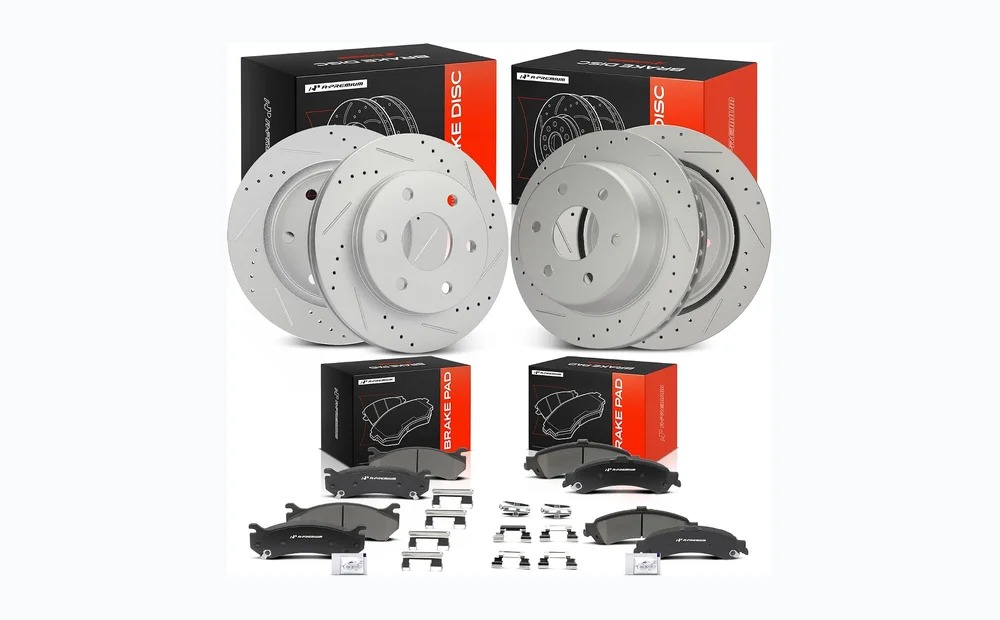
The right scope depends on wear, damage, and how the brake system has been performing. This table gives a simple way to think about the choices.
| Repair approach | Best for | Strengths | Limitations | Who should choose it |
|---|---|---|---|---|
| Brake pads only | Rotors are smooth and within service limits | Least parts work; fast when rotors are still healthy | Old rotors can reduce braking quality and shorten pad life | Drivers with confirmed rotor condition and no caliper issues |
| Pads and rotors | Normal wear, rotor grooves, vibration, or uneven surfaces | Restores a fresh braking surface and often improves pedal feel | More labor and cost than pad-only work | Most DIY brake jobs where rotors show wear |
| Pads, rotors, and calipers | Leaking, sticking, or damaged calipers | Addresses the full problem and helps prevent uneven wear | Requires brake bleeding and careful setup | Drivers with seized calipers, fluid leaks, or heat damage |
Verdict: If the calipers are healthy, many repairs can stop at pads and rotors. If the caliper is leaking or sticking, replace it too. Never install new pads on a damaged caliper and assume the issue will go away.
Common mistakes to avoid
Brake repairs go wrong when small details are skipped. The most common mistake is hanging the caliper by the hose, which can damage the line and create a leak later. Another mistake is failing to clean the hub or rotor mating surface, which can cause rotor runout and a steering wheel shake.
People also run into trouble by reusing worn clips, ignoring slide pin corrosion, or using too much grease. Brake lubricant belongs only on approved contact points, not on pad friction material or rotor faces. If any friction surface gets contaminated, clean or replace it before driving.
Quick troubleshooting table
| Symptom after repair | Likely cause | What to check |
|---|---|---|
| Soft or spongy pedal | Air in the brake lines or low fluid | Bleed the brakes again and inspect for leaks |
| Brake pull to one side | Sticking caliper or uneven pad installation | Check slide pins, caliper movement, and pad seating |
| Grinding or scraping noise | Missing hardware, misinstalled pads, or damaged rotor | Reinspect clips, pad orientation, and rotor condition |
| Vibration when braking | Dirty hub face, rotor issue, or improper wheel torque | Clean mounting surfaces and verify lug nut torque |
Final checks before you drive
After reassembly, pump the brake pedal until it feels firm before moving the vehicle. This seats the pads against the rotors and restores normal pedal travel. Check the brake fluid level, confirm the reservoir cap is secure, and look for leaks around the caliper and hose connection.
Before going on the road, test the brakes at low speed in a safe area. Listen for abnormal noise, feel for pulling, and confirm the pedal stays firm. If the brakes do not feel right, stop and inspect the job again rather than trying to “drive it in.”
FAQ
Do I need to replace calipers when I replace pads and rotors?
Not always. Replace calipers only if they leak, stick, seize, or show physical damage.
Should brake pads and rotors be replaced at the same time?
Often yes. If the rotors are worn, grooved, or below service limits, new pads may not perform well on them.
Can I replace just one caliper?
Yes, if only one side has failed. But inspect the opposite side carefully so you do not miss a similar problem.
Do I have to bleed the brakes after replacing a caliper?
Yes, if the brake line was opened. Air in the system can make the pedal soft and reduce braking power.
What should I check after the repair?
Check pedal feel, fluid level, lug nut torque, and whether the car stops straight without noise or vibration.
Conclusion
Knowing how to replace brake pads rotors and calipers safely comes down to careful inspection, clean installation, proper torque, and a good final test. Replace only the parts that truly need it, but do not ignore a bad caliper when it is the real problem. If anything seems unclear during the job, pause and verify the procedure with a vehicle-specific service source before driving.
Your best next step is to inspect both front or rear brakes on the same axle, confirm which parts are worn, and gather the correct tools before you begin.