How to Replace Brake Pads and Rotors Toyota Camry Guide
This guide explains how to replace brake pads and rotors Toyota Camry owners can follow. It covers tools, safety checks, step-by-step replacement, cautions, and troubleshooting so you can complete the job safely. Check your Camry’s service manual for model-specific details like torque specs and parking brake procedures.
📖 Table of Contents
📌 Key Takeaways
- Replacing pads and rotors on a Toyota Camry is a moderate DIY job with common hand tools and a safe workspace.
- Follow a clear order: prepare, lift vehicle, remove wheel, disassemble caliper, remove old parts, install new parts, torque, bleed/check, and test drive.
- Use the Camry service manual for torque specs and electronic parking brake procedures; test brakes carefully at low speed after the job.
Tools and parts you’ll need
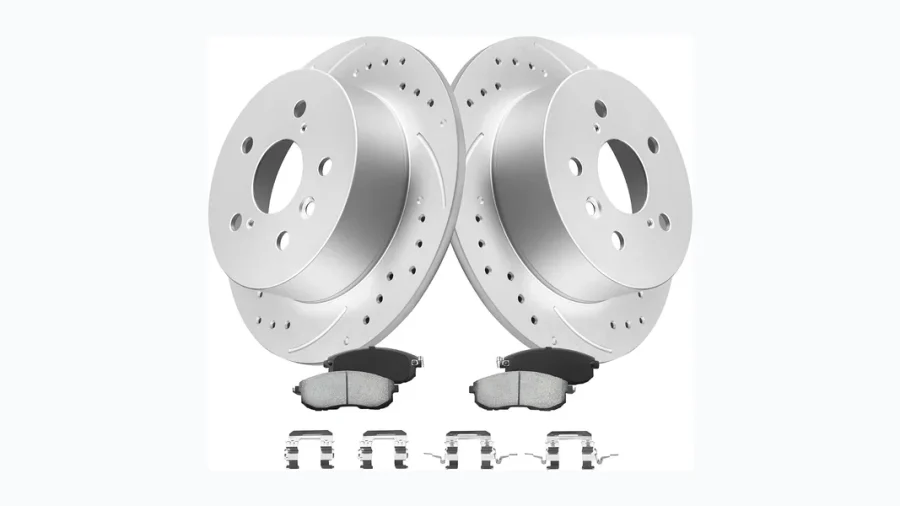
![MOTOREVO Front Brake Rotors Kit for Camry [2007-2017] High-Carbon Alloy Drilled & Slotted Brake Pads and Rotors Kit | Tailored Ventilation Enhanced Braking Performance|GEOMET Coated App Universal](https://aautopulse.com/wp-content/uploads/2026/09/how-to-replace-brake-pads-and-inline-1.webp)
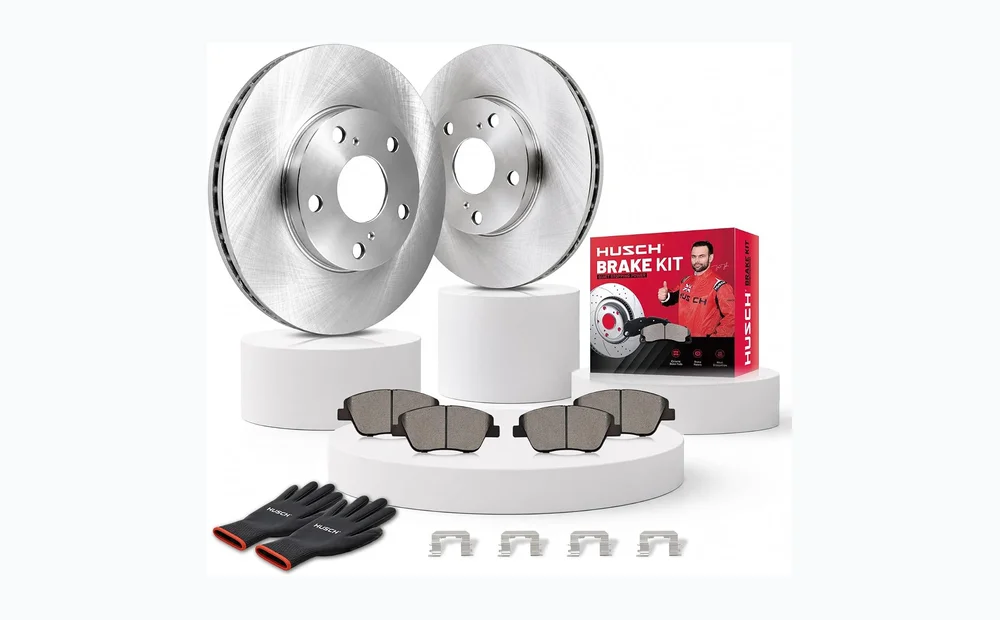
Gather tools and parts before you start to avoid delays. Basic tools include a jack and stands, lug wrench, socket set, ratchet, breaker bar, C-clamp or caliper piston tool, and a torque wrench.
Parts typically required are new brake pads and rotors for the specific Camry model and new caliper slide hardware or clips if worn. Also have brake cleaner, anti-seize compound or brake lubricant, a catch pan, and shop rags.
Prep and safety checks
Work on a flat, stable surface and engage the parking brake before lifting. If your Camry has an electronic parking brake, consult the service manual for the correct procedure to release or retract it.
Loosen the wheel lugs slightly while the car is on the ground. Raise the vehicle with a jack and support it securely on jack stands placed at manufacturer jack points. Never rely on the jack alone.
How to Replace Brake Pads and Rotors Toyota Camry: step-by-step
-
Remove the wheel
Finish removing the lug nuts and take the wheel off. Keep the lug nuts in a safe place.
-
Inspect assembly
Look at the rotor, caliper, slide pins, and brake lines. Note any fluid leaks, deeply scored rotors, or frozen slide pins that may require extra attention.
-
Remove the caliper
Unbolt the caliper mounting bolts and slide the caliper off the rotor. Support the caliper with a hanger or strap—do not let it hang by the brake hose.
-
Remove old pads and hardware
Take out the old pads, retaining clips, and any pad shims. Clean the caliper bracket where the pads sit. Replace hardware if it is corroded or worn.
-
Remove the rotor
If the rotor is held by a retaining screw, remove it. If the rotor is stuck from rust, tap it gently with a rubber mallet to free it.
-
Prepare new rotor
Clean the new rotor with brake cleaner to remove shipping oils. Avoid touching the braking surface with greasy hands.
-
Compress the caliper piston
Use a C-clamp or piston tool to push the piston back into the caliper body to make room for the new pads. Watch the brake fluid reservoir; stop if fluid rises to the top and remove excess if needed to avoid overflow.
-
Install rotor, pads, and hardware
Mount the rotor, reinstall or replace retaining hardware, install new pad clips or shims, and fit the new pads. Apply a small amount of brake lubricant to pad contact points as recommended.
-
Reinstall caliper and torque bolts
Slide the caliper over the pads and rotor and torque the mounting bolts to the specification in your service manual. Do not guess torque values—verify them for your model and year.
-
Repeat on other side
Perform the same steps on the other front or rear wheel as required. For a full brake job, do all four corners.
-
Lower, tighten lug nuts, and check fluid
Lower the car, torque wheel lug nuts to the proper spec, and check the brake fluid level. Top up with the correct fluid type if needed.
-
Bed-in procedure and test drive
Follow the bedding-in process recommended by your pad manufacturer: typically a series of controlled stops from moderate speeds to transfer a pad layer to the rotor. Start with low-speed stops in a safe area to confirm braking feels normal.
Cautions
- Always use jack stands; never work under a car supported only by a jack.
- Avoid contaminating pad or rotor surfaces with oil or grease—this will reduce braking performance.
- Do not open the brake system (undo hard lines) unless you plan to properly bleed the system and verify ABS operation. If unsure, consult a shop or the service manual.
- If your Camry uses an electronic parking brake, follow model-specific retraction steps to avoid damaging the actuator.
Troubleshooting and decision table
| Symptom | Probable cause | Fix |
|---|---|---|
| Pulsation under braking | Warped or improperly seated rotor | Check rotor runout, ensure clean hub surface, and re-torque; if runout exceeds manual spec, replace or have rotor resurfaced by a shop. |
| Squeal or squeak after install | Contaminated pads/rotors or missing shims | Clean surfaces, ensure shims and hardware installed, use recommended anti-squeal compound behind pads. |
| Spongy pedal | Air in brake lines or fluid level too low | Bleed brakes per service manual; check for leaks and correct fluid level and type. |
| Brake drag or pulling | Sticking slide pins, collapsed brake hose, or caliper piston not retracting | Clean and lubricate slide pins, inspect brake hoses and caliper operation; replace components as needed. |
Maintenance tips after replacement
Check wheel lug torque after 50–100 miles. Monitor brake fluid level over the next few days. Listen for unusual noises and watch for uneven pad wear or pulling to one side.
Rotate your inspection schedule into your regular maintenance routine. Early detection of worn hardware or contaminants prevents premature rotor wear.
FAQ
-
How long does it take to replace pads and rotors?
For one axle, expect 1–2 hours for a careful DIYer. Time varies with experience, tools, and whether additional issues appear.
-
Do I need to bleed the brakes after replacing pads and rotors?
Not always. If you only compress the piston and do not open hydraulic lines, bleeding may not be necessary. If pedal feel is soft or you opened lines, bleed the system.
-
Can I reuse my old rotors?
It depends on their condition and thickness. If they are within the safe thickness and show no deep scoring or heat damage, a shop can resurface them. Refer to the service manual for minimum thickness.
-
What about the electronic parking brake on some Camry models?
If present, follow the model-specific release/retract procedure before removing rear calipers. Consult the service manual or a technician if unsure.
Conclusion — practical next step
If you have the tools and a clear service manual for your model year, proceed with the steps above, working methodically and following safety cautions. If you encounter uncertain issues—ABS warnings, seized components, or unknown torque specs—pause and consult a professional or the official Toyota service guide before continuing.